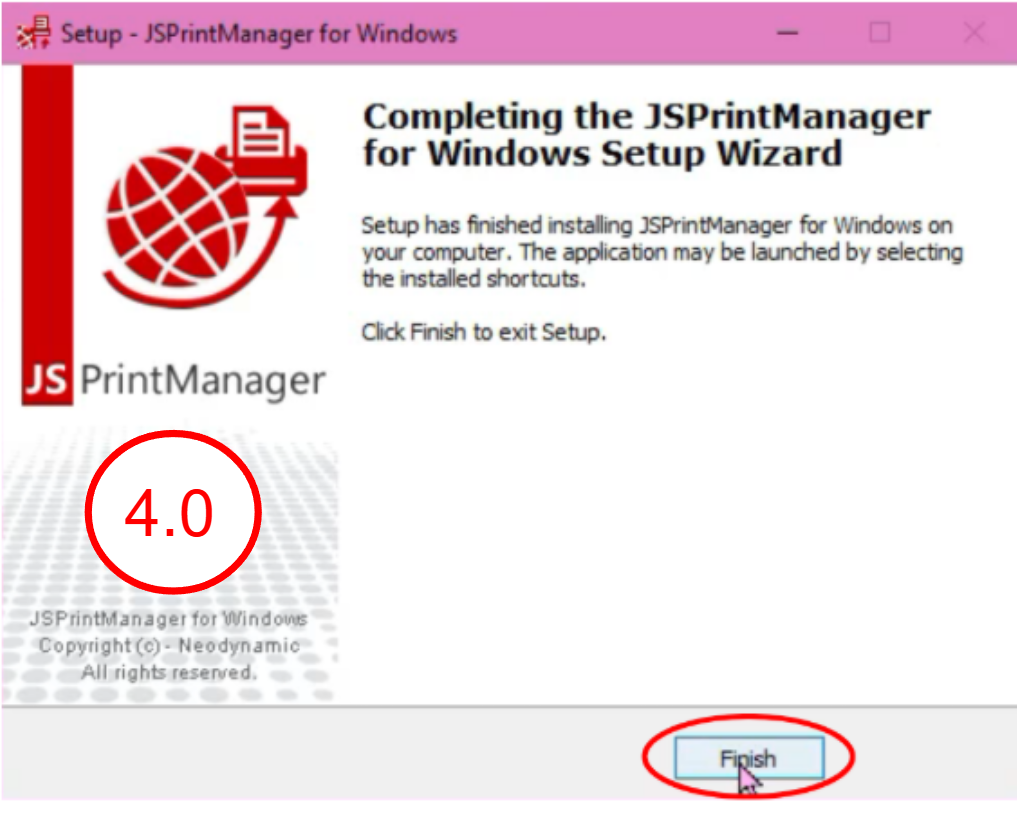
- Download JSPrinterManager Client App here . Select the Unified installer for Windows 32/64 bit. It is crucial to check and make sure you are downloading version 4 of the JSP client.

- Open the setup wizard, click next, and Finish

- After installing JSPM App, search for a JSPM_CA.CER file by:
- On your computer’s search bar, enter “%appdata%”
- Click on “app data” on the file explorer’s directory -> Local -> .neodynamic -> jspm -> ca
- Copy this file and transfer to the slave computers followed by installing this certificate. If you are conducting a reinstall, make sure to delete the old cert by:
- computer search bar: certmgr.msc
- check the trusted root certificate for any jsprint certificate.
- delete the certificates before installing the new one.

- Once you try to print a label for the first time, this label will appear. Tick ‘don’t ask again for this site’ and click allow.

- In Vanda Clinic, click on Setting

- Under administrative, select Printer

- Enter printer model, paper size, and the print server. Use the IP address of the PC ( you can find your ip by using the pc search bar -> type in “cmd”, a black command window will appear -> type in “ipconfig” and enter the IPv4 address into vanda) that you would like to set as the print server.
- Each branch can only have one print server. Save.

